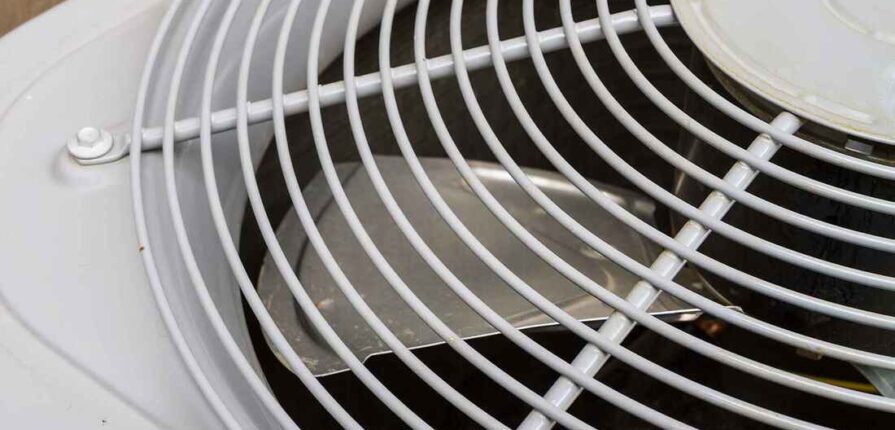
Exhaust Fan Repair: A Step-by-Step Guide
Exhaust fans are essential for maintaining air quality in homes and workplaces. They help remove odors, moisture, and airborne contaminants, preventing mold growth and improving ventilation. However, like any other appliance, exhaust fans can malfunction over time. If your exhaust fan has stopped working or is making unusual noises, it may be time for a repair. This guide will help you troubleshoot and fix common exhaust fan issues.
Common Exhaust Fan Problems and Solutions
1. The Fan Doesn’t Turn On
- Check the Power Supply: Ensure the fan is plugged in or that the circuit breaker hasn’t tripped.
- Inspect the Switch: If the power supply is fine, test the wall switch using a multimeter to check for continuity.
- Examine the Motor: If the switch is functional, the motor might be faulty and require replacement.
2. The Fan Is Making Unusual Noises
- Tighten Loose Parts: Rattling noises often come from loose screws or mounting brackets.
- Lubricate the Bearings: Squeaking sounds can be reduced by applying lubricant to the motor bearings.
- Check for Debris: Ensure that no foreign objects are obstructing the fan blades.
3. Poor Airflow or Weak Suction
- Clean the Fan Blades: Dust and grease buildup can reduce efficiency.
- Inspect the Ductwork: Blockages in the ventilation ducts can restrict airflow.
- Upgrade the Fan: If the fan is undersized for the space, consider replacing it with a more powerful model.
4. The Fan Turns Off Unexpectedly
- Overheating Motor: If the motor overheats, it may have a thermal cutoff feature. Let it cool and check for dust accumulation.
- Electrical Issues: Faulty wiring or connections can cause intermittent operation.
Tools Needed for Exhaust Fan Repair
- Screwdrivers (Phillips and flathead)
- Multimeter (for testing electrical components)
- Lubricating oil
- Replacement motor or fan blades (if necessary)
- Cleaning brush or vacuum
Step-by-Step Repair Process
- Turn Off Power: Always disconnect power before working on an exhaust fan to prevent electrical hazards.
- Remove the Fan Cover: Use a screwdriver to detach the fan cover and clean accumulated dust.
- Inspect and Clean the Components: Wipe the blades, motor, and vents to improve performance.
- Test Electrical Connections: Use a multimeter to check the switch, wiring, and motor for faults.
- Replace Faulty Parts: If the motor is not working, replace it with a compatible unit.
- Reassemble and Test: Reattach the cover, restore power, and turn on the fan to check if the issue is resolved.
When to Call a Professional
If troubleshooting and repairs don’t fix the issue, or if you notice burning smells or exposed wires, it’s best to contact a licensed electrician or technician to prevent safety hazards.
Conclusion
Regular maintenance and timely repairs can extend the life of your exhaust fan and keep your home or workplace well-ventilated. By following these troubleshooting steps, you can fix most common issues yourself, saving money and ensuring proper airflow. If the problem persists, professional help is recommended for safe and efficient repair.


Recent Comments